
Dominoes is a fun game that you can play in various social gatherings. So, to keep yourselves entertained during meetups, you can always make yourselves some resin dominoes. Scroll down to find the supplies you need and the instructions you can follow to make your own DIY dominoes set.

Supplies Needed
Following is the list of things required to make your resin dominoes:
- Silicone Dominoes Mold
- Epoxy Resin
- Blue and White Mica Powder
- Dropper
- Mixing Stick
- Small Dried Flowers
- Bear and Word Charms
- Tweezers
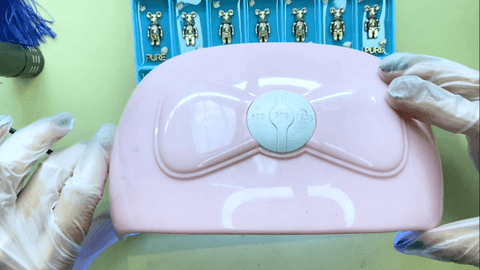
- UV Lamp
- Small Star-shaped Golden Stickers
- Toothpick
- Small Round Plate
- Ball-tip Needle
- Q-tips
- Small Cup
- Gloves
Step-by-step Instructions
Below are the detailed instructions that you can follow to create the perfect resin dominoes:
- Fill the Dominoes Silicone Mold with Resin
To begin with the resin dominoes, you first need to fill your silicone dominoes mold half-way through the cavity of each domino tile with blue-tinted resin mixture. For the small tile cavities, a dropper can offer great help as it allows you to control the quantity of the resin that you pour each time.
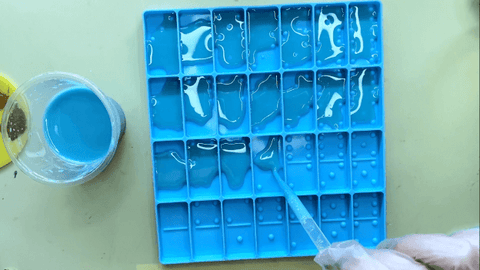
Although resin is self-levelling, sometimes when you use small quantities of the mixture, it is a good idea to tilt your mold sideways to spread the mixture across the surface evenly.
If you notice that the mixture you added to the mold is not enough, you can always add more with the help of a dropper to get the desired level.

- Add Different Elements to the Domino Tiles
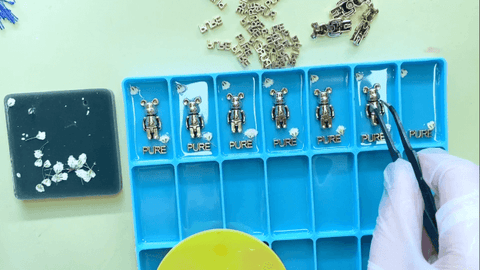
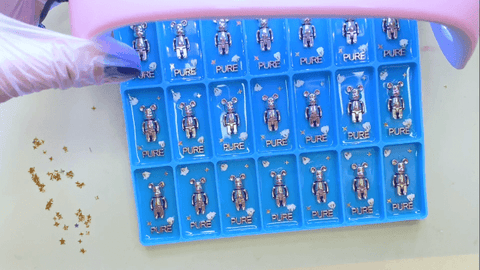
The second step that you need to follow is to add dried flowers, charms, and golden stars to your domino tiles. Do this once your mold has achieved a gel-like consistency so that the different elements can stick firmly. To achieve this consistency, you would have to leave your mold to cure for about three to six hours. Afterward, take a small round plate with some clear resin mixture on it and lightly dip each element in the mixture before placing it in the domino tile with a tweezer for precision.
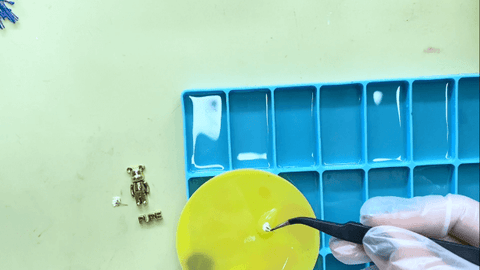
Place the flowers diagonally and the bear and Pure word charm in the middle of the domino.
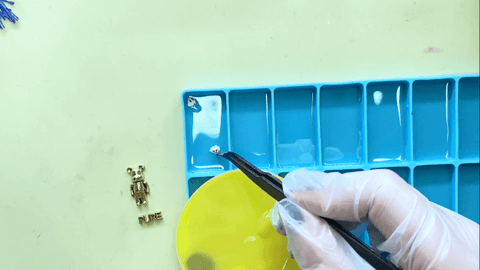

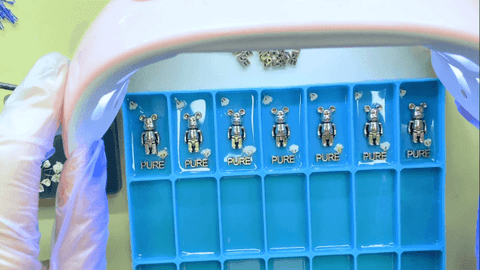
Now, to quickly dry these elements, you can use an LED UV resin curing flashlight.

Repeat the same process for the remaining dominoes.
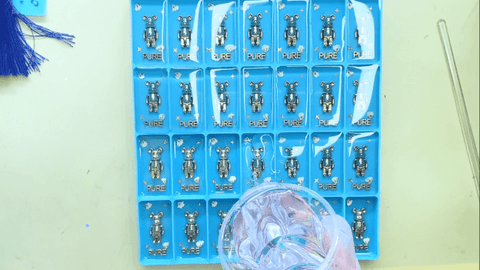
To make the process quicker, you can use UV lamp instead of the flashlight to dry multiple dominoes at the same time by placing the lamp over each row one by one.
Now, take a toothpick and add small star-shaped golden stickers in the second diagonal line segment of the dominoes for some shimmer and glimmer.
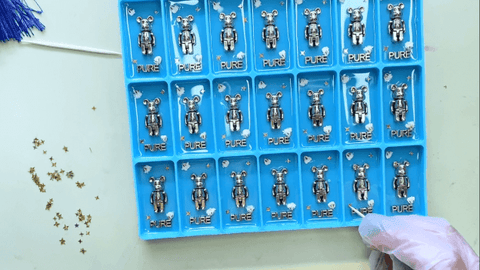
Use the lamp to dry the stars as well.
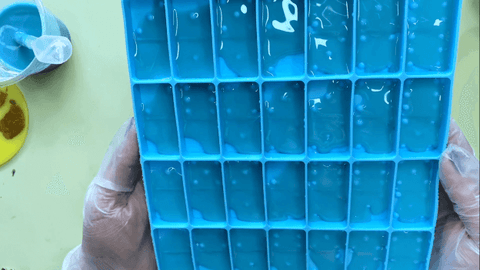
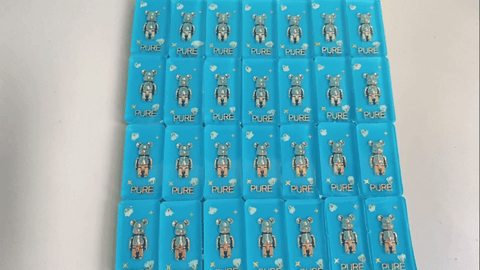
Then, to fill the half-empty cavity of the dominoes, pour some clear resin mixture to the brim. Afterward, leave the mold to cure overnight.
- Demold Dominoes to Add Details
Once your dominoes have fully cured, you can carefully demold them to start adding the details.

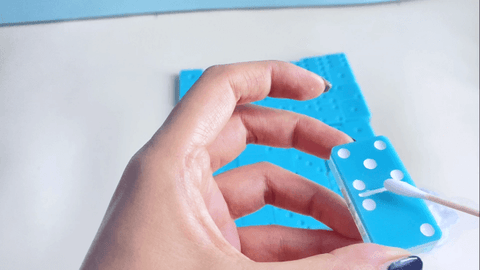
For this purpose, you can prepare some white resin mixture and then fill the domino tile pips and divider with it using a ball-tip needle.
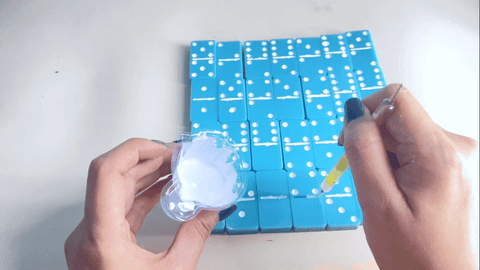
You can erase any excess resin on the sides with the help of q-tips to add more neatness to your dominoes.
- Start the Game
Once you are done adding the details and the resin has dried, you can start playing with your home-made resin dominoes that are not only beautiful but really easy and fun to make as well.
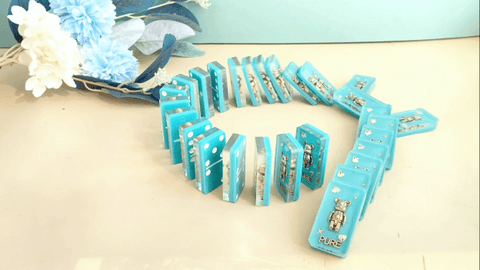
Bring some fun to your meetups by engaging in a cool game of dominoes. Make your resin dominoes set at home by getting the supplies right away!