Christmas is a beautiful time of the year. Be it making huge batches of food for friends and family, or hosting get togethers, Christmas keeps you busy. During this time, when you are enjoying little things, it is important that you include some family time in your schedule too.
This Christmas, bring your family together to work on an absolutely mesmerizing resin project that everyone will cherish. Scroll down to find the supplies and instructions required for miniature resin Christmas home project:
Supplies Needed
Following is the list of things you need to make your resin Christmas Home:
- Miniature Christmas Home Silicone Mold
- Epoxy Resin and Hardener
- White, Dark Green, and Red Mica Powder
- Chunky Glitter
- Small Cups with Thin Spouts
- Gloves
Step-by-step Instructions
Fill the Mold with Resin Mixture
To start this project, you will begin by adding your tinted resin mixtures in the miniature Christmas home mold. Before adding individual resin mixtures in the mold, don’t forget to mix some glitter in them as well for a beautiful shimmer. It is better that you use a mixing stick to blend glitter well in the resin mixture. This will ensure that there are no glitter lumps in your resin.
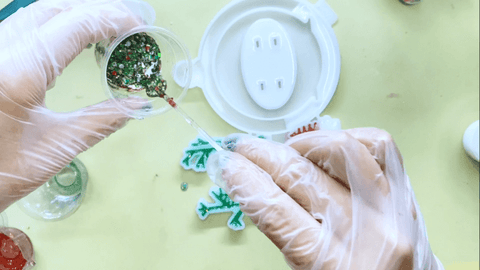
You can use white resin mixture in the base mold in which you will later fix the other components.
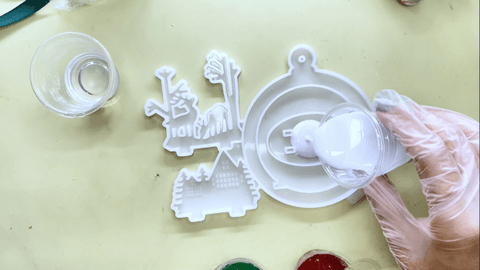
For the top portion, use green resin mixture in the trees and deer component, and red resin mixture in the house.
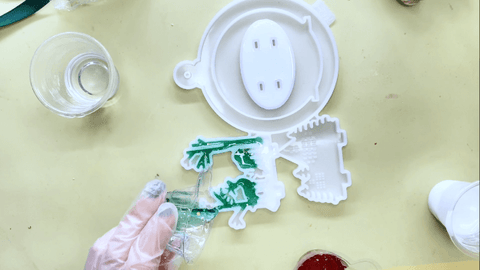
Use the same white resin mixture for the trees and deer, the house, and the ring that will act as the wall hanging but only in the bottom part. And add red resin mixture in the house.
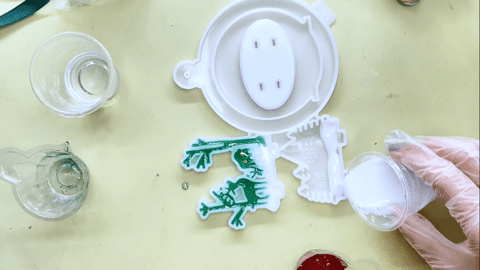
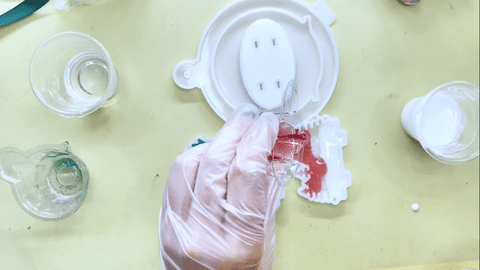
As the differently colored resin mixtures start self-levelling, they’ll merge nicely with each other at the border on their own. This will give your project a lovely ombre effect. However, for this to happen, you have to make sure that you pour enough mixture.
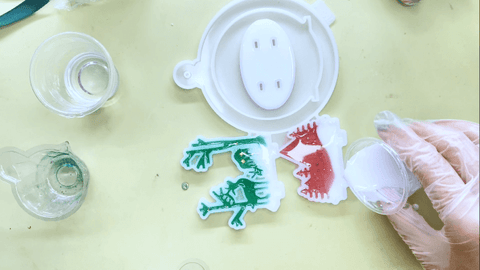
After the trees and deer component and the house component, use dark green resin mixture mixed with chunky glitter and white resin for the ring. Once you are done filling the mold with resin mixture, you can leave it to cure overnight.
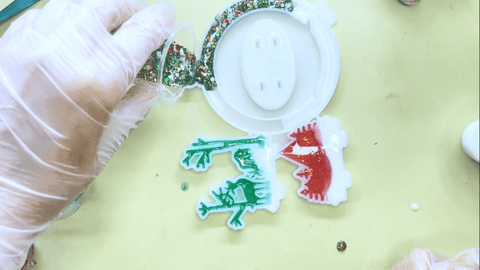
Demold and Assemble
Resin takes about twenty-four hours to fully dry. When it has completely cured, you can demold it carefully.

After demolding, take the trees and deer component and fix it in the back cavities of the base mold.
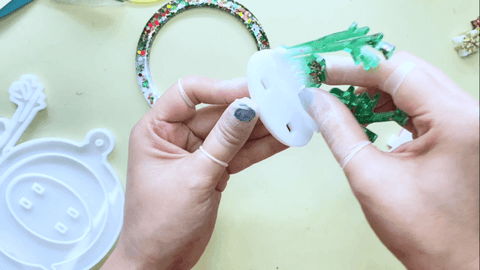
Use the front cavities of the base mold for the house.
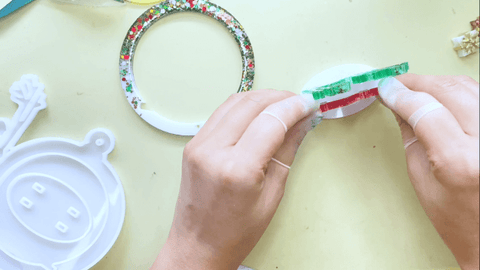
Now that you have attached the two components with the base, you can attach the base to the ring to complete your project.
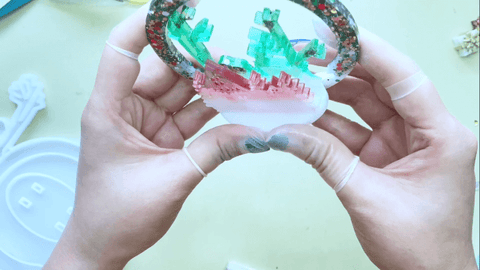
Now, your project is ready to be placed wherever you like. You can also use the small hole in the ring to hang your project.
